Quick and Easy Lunchbox Ideas Kids and Adults Will Love
You’ll save time and money by prepping make-ahead wraps with cream cheese barriers, assembling DIY lunchable boxes for 70% less than store-bought, and transforming leftovers into new meals. Pack protein-rich options like Greek yogurt parfaits or hard-boiled eggs with fruit, use compartmentalized containers to prevent sogginess, and batch-prep on Sundays for the week. These strategies turn chaotic mornings into smooth routines while keeping lunches fresh, nutritious, and budget-friendly.
Key Takeaways
- Prepare make-ahead wraps with cream cheese or hummus barriers, sturdy vegetables, and store tightly wrapped for up to three days.
- Create DIY lunchable-style boxes with crackers, cheese cubes, and deli meat for 60-70% less than store-bought versions.
- Transform leftovers into new meals using compartmentalized containers and keeping proteins, grains, and vegetables separated for mix-and-match options.
- Pack no-cook protein options like hard-boiled eggs, Greek yogurt parfaits, or turkey-cheese rolls for quick assembly.
- Set up Sunday meal prep stations with pre-cut fruits, portioned snacks, and divided containers for efficient weekly lunch assembly.
Make-Ahead Wraps and Pinwheels That Stay Fresh
If you’re tired of soggy sandwiches and wilted wraps by lunchtime, you’ll love these make-ahead options that actually hold up. The secret’s in choosing the right ingredients and assembly techniques.
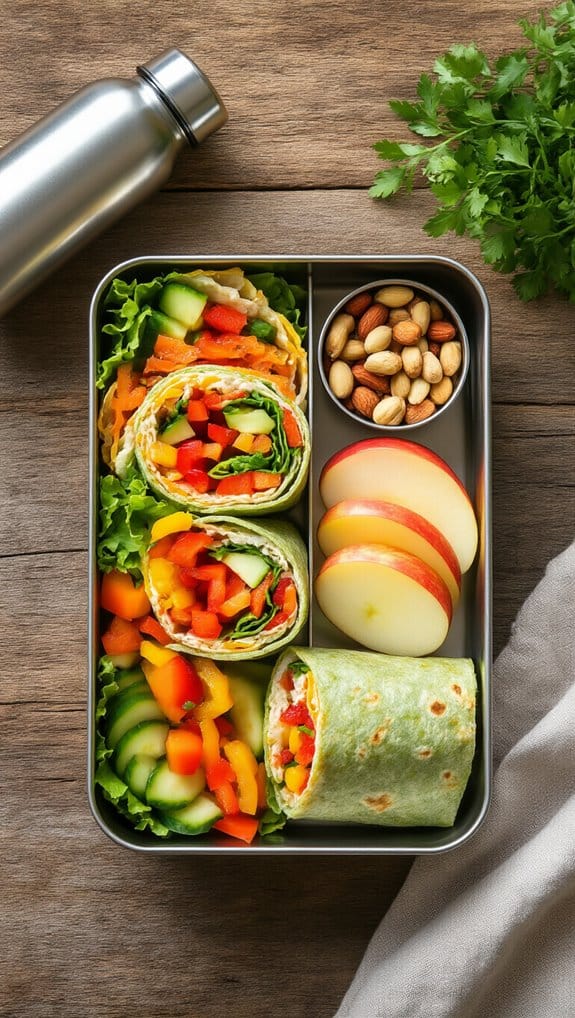
For wraps, spread cream cheese or hummus directly on the tortilla before adding wrap filling ideas like turkey, cheese, and crisp vegetables. This creates a moisture barrier that prevents sogginess.
Skip watery vegetables like tomatoes and opt for sturdy choices like bell peppers, carrots, and spinach.
Pinwheel variations work brilliantly for meal prep. Try classic combinations like ham and swiss with mustard, or get creative with pesto, roasted red peppers, and mozzarella.
Roll tightly, wrap in plastic wrap, and refrigerate overnight. The resting time helps everything meld together.
Cut pinwheels just before packing to maintain freshness. Store wraps whole and slice at lunchtime if possible.
Both options stay fresh for up to three days when properly wrapped and refrigerated.
Bento Box Combinations Kids Will Actually Eat
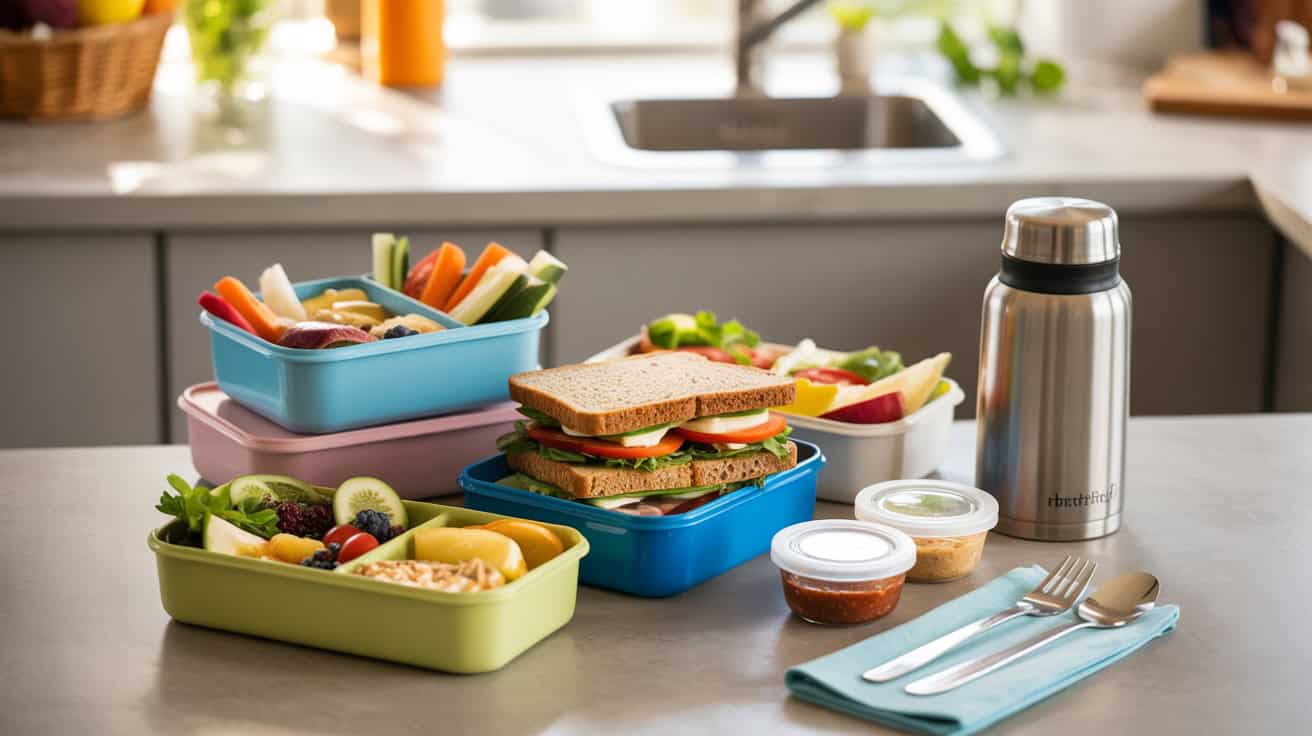
The key to successful bento boxes isn’t just making them look cute—it’s creating combinations your kids will devour. Start with familiar favorites and add small twists. Pack mini sandwiches cut into fun shapes alongside cheese cubes and crackers. Your kids won’t resist colorful fruit kabobs paired with yogurt dip.
Transform leftovers into exciting bento box inspirations. Yesterday’s chicken becomes today’s chicken salad cups with mini pita pockets. Rice balls wrapped in nori make perfect finger foods. Include veggie sticks with ranch or hummus in small containers.
Focus on kid-friendly flavors they already love. Mix sweet and savory options like apple slices with peanut butter, pretzels, and a few chocolate chips. Create a DIY pizza using crackers, marinara sauce, and mozzarella. Hard-boiled eggs cut into fun shapes add protein without complaints.
Remember to pack everything in separate compartments to prevent soggy foods. You’ll quickly discover which combinations become requested favorites.
Creative Ways to Transform Last Night’s Leftovers
You don’t have to toss yesterday’s dinner or serve boring reheated meals.
With smart storage techniques that preserve freshness, you’ll keep leftovers tasting great overnight.
Smart Storage Tips
When you’re staring at containers of last night’s dinner, don’t just reheat and pack them as-is—transform those leftovers into exciting new meals that’ll make lunchtime something to anticipate.
Use compartmentalized storage containers to keep ingredients separate and fresh. This method prevents soggy salads and maintains crispy textures until you’re ready to eat.
Practice portion control by dividing leftovers into single-serving containers immediately after dinner. You’ll save morning prep time and avoid overeating.
Store proteins, grains, and vegetables separately, then mix and match throughout the week. Yesterday’s grilled chicken becomes today’s wrap filling or tomorrow’s salad topper.
Keep dressings and sauces in small containers to add just before eating. Label everything with dates to track freshness and reduce waste.
Mix and Match Methods
Smart storage sets the foundation, but creative combinations turn those separated ingredients into completely different meals.
You’ll transform boring leftovers into exciting lunches with simple sandwich swaps. Replace traditional bread with tortillas, lettuce wraps, or pita pockets. Yesterday’s grilled chicken becomes today’s club sandwich or tomorrow’s wrap with fresh toppings.
Master salad variations by deconstructing dinner components. Turn roasted vegetables into grain bowls, add leftover proteins to leafy greens, or toss pasta with vinaigrette instead of sauce.
Mix textures and temperatures—pair warm quinoa with cold cucumbers or crispy chickpeas with soft avocado.
Keep flavor boosters handy: hummus, pesto, and tahini instantly change any combination.
You’re not eating leftovers—you’re creating entirely new meals.
Upgrade Your Presentation
While yesterday’s dinner might look uninspiring straight from the fridge, thoughtful presentation transforms leftovers into restaurant-worthy meals.
You’ll elevate plain rice by molding it into shapes using cookie cutters or small bowls. Layer ingredients in clear colorful containers to create visual appeal—think rainbow-stacked salads or parfait-style grain bowls.
Don’t underestimate fun garnishes. Sprinkle sesame seeds, add fresh herbs, or create radish roses.
Transform leftover pasta into a bento-style arrangement with compartments for cherry tomatoes and cheese cubes. Cut sandwiches into triangles or use cookie cutters for playful shapes. Arrange fruit slices in patterns or thread them onto skewers.
Even simple touches like rolling deli meat into rosettes or fanning avocado slices make your lunch Instagram-worthy. These small efforts turn mundane meals into exciting midday treats.
No-Cook Protein-Packed Lunch Options

If you’re looking to boost your protein intake without turning on the stove, you’ve got plenty of delicious options that’ll keep you satisfied until dinner.
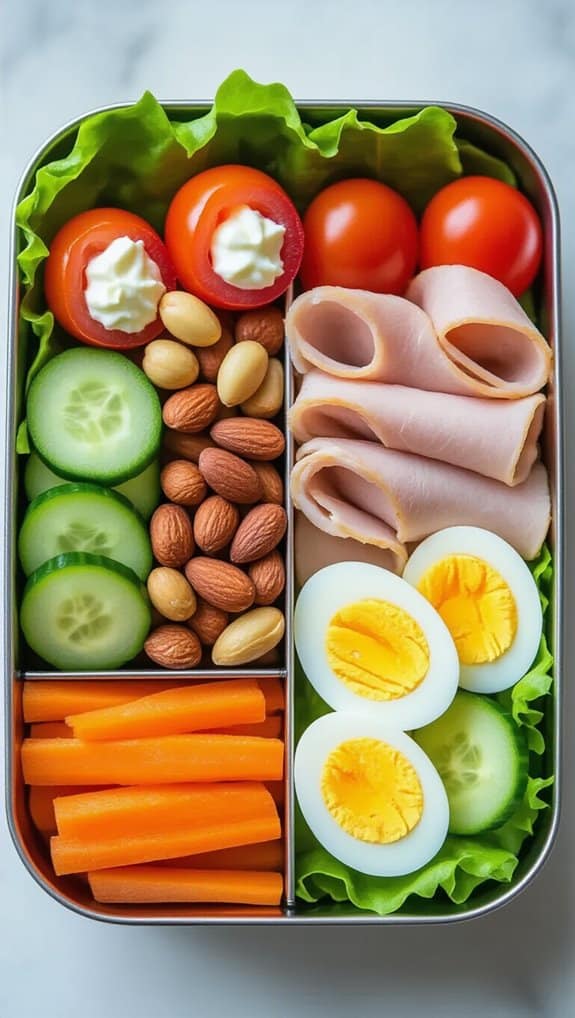
Hard-boiled eggs prepared in advance offer 6 grams of protein each and pair perfectly with whole-grain crackers. Greek yogurt delivers an impressive 15-20 grams per serving—mix it with nuts and berries for added nutrition.
Canned tuna makes an excellent sandwich filling or salad topper, providing about 20 grams of protein per can. You can also create a hearty chickpea salad by mashing canned chickpeas with avocado, lemon juice, and your favorite seasonings.
Roll deli turkey or ham around cheese sticks for quick protein rolls that travel well.
Don’t overlook nut butters spread on apple slices or celery sticks. These combinations deliver sustained energy throughout your afternoon.
DIY Lunchable-Style Boxes on a Budget
You’ll save money and reduce waste by creating your own lunchable-style boxes with simple ingredients from your pantry and fridge.
Start by choosing affordable proteins like sliced deli meat, hard-boiled eggs, or cheese cubes, then pair them with crackers and fresh fruit combinations that won’t break your budget.
These customizable boxes cost a fraction of store-bought versions while giving you complete control over portions and ingredients.
Protein Options Guide
Creating your own lunchable-style boxes starts with choosing the right proteins that’ll keep costs down without sacrificing nutrition or taste.
You’ll find excellent value in rotisserie chicken, which you can shred and portion for multiple meals. Hard-boiled eggs offer another budget-friendly option that’s packed with nutrients.
Consider lean meats like turkey or ham from the deli counter—buy them in bulk and freeze portions. You’ll save significantly compared to pre-packaged options.
Don’t overlook plant proteins either. Chickpeas, black beans, and edamame provide filling alternatives that cost pennies per serving. Cheese cubes and string cheese work double-duty as both protein and calcium sources.
Mix and match these proteins throughout the week to prevent boredom.
You’re creating nutritious meals while keeping your grocery budget intact.
Fresh Fruit Combinations
While proteins form the foundation of your lunchable boxes, fresh fruits add natural sweetness and essential vitamins that’ll make these meals irresistible.
You’ll find countless combinations that work perfectly in compartmentalized containers.
Try these winning fruit pairings:
- Citrus Mix: Orange slices with grapefruit segments and lime wedges
- Tropical Fruit Salad: Pineapple chunks, mango cubes, and kiwi rounds
- Berry Blend: Strawberries, blueberries, and raspberries
- Apple Variations: Sliced apples with grapes and melon balls
Create a berry yogurt parfait by layering Greek yogurt with mixed berries in small containers.
You can prep these combinations on Sunday for the entire week. Cut fruits into bite-sized pieces that won’t require utensils.
Add a squeeze of lemon juice to prevent browning on apples and pears.
Money Saving Tips
Making your own lunchable-style boxes can save you 60-70% compared to store-bought versions when you shop strategically. You’ll find budget-friendly ingredients at warehouse stores and during weekly sales. Buy crackers, cheese, and deli meat in bulk, then portion them yourself.
Here’s your cost-effective meal planning breakdown:
| Store-Bought | DIY Version |
|---|---|
| Lunchables: $3.50 | Homemade: $1.20 |
| Crackers: $0.80 | Bulk crackers: $0.25 |
| Cheese: $1.00 | Block cheese: $0.35 |
| Meat: $1.20 | Deli meat: $0.40 |
| Treat: $0.50 | Mini cookies: $0.20 |
Prep five boxes on Sunday using small containers or silicone muffin cups. You’re creating the same fun experience while keeping more money in your pocket.
Freezer-Friendly Items You Can Grab and Go
If you’re tired of the morning scramble to pack lunch, freezer-friendly items can transform your routine. By dedicating time to meal prep on weekends, you’ll create convenient freezer staples that make weekday lunches effortless.
Stock your freezer with these grab-and-go options:
- Breakfast burritos – Wrap scrambled eggs, cheese, and veggies in tortillas, then freeze individually.
- Mini quiches – Bake in muffin tins with your favorite fillings for protein-packed portions.
- Sandwich bundles – Pre-make PB&J or deli sandwiches and freeze in bags.
- Homemade pizza pockets – Fill dough with sauce and cheese for kid-friendly favorites.
You’ll save precious morning minutes by simply transferring frozen items to lunchboxes. Most options thaw perfectly by noon, maintaining fresh taste and texture.
Label everything with dates and contents to track freshness. Rotate your freezer inventory weekly to prevent waste. This system eliminates daily decision fatigue while ensuring you’re never caught without healthy lunch options.
Nutritious Snack Pairings That Keep Energy Steady

You’ll keep your energy stable throughout the day by pairing the right foods together in your lunchbox.
Smart combinations like protein plus fruit combos, whole grain energy pairs, and veggie dip power duos provide balanced nutrition that prevents the dreaded afternoon crash.
These strategic pairings deliver steady fuel by combining quick-acting carbohydrates with slower-digesting proteins and healthy fats.
Protein Plus Fruit Combos
When you pair protein with fruit, you’re creating a snack that delivers both immediate and sustained energy while keeping blood sugar levels stable.
These combinations satisfy hunger between meals while providing essential nutrients your body needs.
Try these winning protein-fruit pairings:
- Greek yogurt parfaits with berries and granola
- Cheese sticks paired with apple slices
- Almond butter spread on banana rounds
- Hard-boiled eggs with orange segments
You’ll find these combos work perfectly for mid-morning snacks or afternoon pick-me-ups.
The protein slows down fruit sugar absorption, preventing energy crashes. Meanwhile, the fruit’s natural sweetness makes the protein more appealing to kids.
Pack these in small containers to maintain freshness throughout the day.
Whole Grain Energy Pairs
Whole grain snacks paired with complementary foods create the perfect formula for sustained energy throughout the school day.
You’ll find these combinations keep your child alert and focused without the sugar crash.
Try whole-grain crackers with cheese slices or hummus for a satisfying crunch.
Pack whole-grain mini muffins alongside Greek yogurt for a breakfast-style energy snack.
You can also prepare whole-grain cereal mixed with nuts and dried fruit in small containers.
Don’t forget about whole grain pretzels paired with nut butter or whole grain rice cakes topped with avocado.
These energy snacks provide complex carbohydrates that release glucose slowly, maintaining steady blood sugar levels.
Your kids will stay energized from lunch through after-school activities without reaching for sugary alternatives.
Veggie Dip Power Duos
Because raw vegetables often get left untouched in lunchboxes, pairing them with irresistible dips transforms them into snacks kids actually want to eat.
You’ll find that veggie dip combinations provide essential nutrients while satisfying cravings for something creamy and flavorful.
Try these winning combinations:
-
- Crunchy vegetables with herb-infused Greek yogurt dips
- Bell pepper strips with cashew-based hummus alternatives
- Baby carrots paired with avocado-lime dip
- Cucumber rounds with tzatziki or ranch yogurt dips
- Crunchy vegetables with herb-infused Greek yogurt dips
You’re creating a balanced snack that delivers vitamins, fiber, and protein in every bite.
The key is offering variety—rotate different dips weekly to maintain excitement.
Pack vegetables and dips in separate containers to preserve crispness.
These power duos ensure steady energy throughout the afternoon while introducing new flavors.
One-Pot Meals Perfect for Thermos Containers

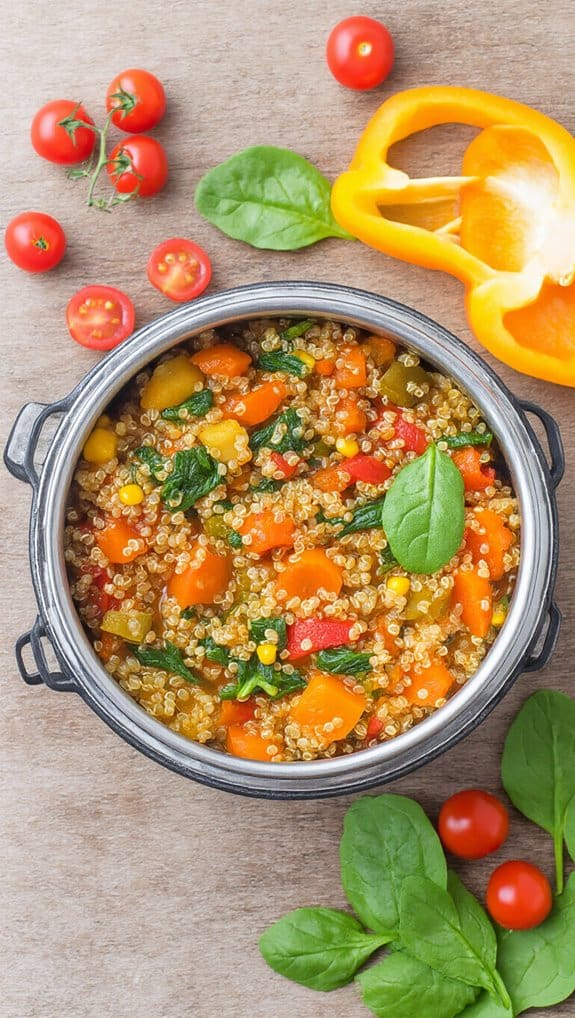
If you’re tired of cold sandwiches and want to pack something warm and satisfying, one-pot meals in thermos containers offer the perfect solution.
You’ll save time on morning prep while enjoying hot, comforting food at lunch.
Start with hearty thermos soup options like chicken noodle, minestrone, or lentil curry.
These stay piping hot for hours and provide complete nutrition in one container.
Don’t forget thick stews and chili that won’t leak during transport.
Pasta dishes work brilliantly too.
Try mac and cheese, spaghetti carbonara, or Asian noodle bowls.
Just slightly undercook the pasta since it’ll continue softening in the thermos.
For best results, preheat your thermos with boiling water for five minutes before adding food.
Fill it completely to minimize air space, which helps maintain temperature.
You’ll need a wide-mouth thermos for easier eating and cleaning.
These one-pot wonders transform your lunch routine without extra containers or reheating hassles.
Allergy-Friendly Swaps for Common Lunchbox Foods
When allergies limit what you can pack, simple swaps ensure your child doesn’t miss out on lunchtime favorites. You’ll find plenty of delicious nut-free alternatives that satisfy without sacrificing taste or nutrition.
Replace traditional PB&J sandwiches with these creative options:
-
-
- Sunflower seed butter with jam
- Cream cheese and cucumber rolls
- Hummus and veggie wraps
- Soy butter with sliced bananas
-
For gluten-free swaps, you’ve got excellent choices beyond standard bread. Try rice cakes topped with avocado, corn tortillas filled with turkey and cheese, or lettuce wraps packed with their favorite proteins.
Don’t forget certified gluten-free crackers paired with cheese cubes.
Stock your pantry with allergy-friendly staples like rice crackers, seed-based spreads, and coconut yogurt. You can transform any lunch favorite into an allergy-safe option with smart substitutions.
These alternatives aren’t just safe—they’re delicious enough that your child won’t feel different from their classmates.
Batch Prep Strategies for the Entire Week
Transform your Sunday afternoon into a lunchbox assembly line that’ll save you precious morning minutes all week long. Start by dedicating two hours to meal prep—you’ll thank yourself when you’re not scrambling at 7 AM.
Wash and chop all vegetables at once, storing them in airtight containers. Cook proteins in bulk: grill chicken, hard-boil eggs, or bake tofu sheets you can portion throughout the week. Prepare grains like quinoa or pasta in large batches.
Create an assembly station with divided containers. Fill each section with different components—proteins, veggies, fruits, and snacks. This mix-and-match approach prevents boredom while streamlining your time management.
Pre-portion snacks into individual bags or containers. Cut cheese into cubes, divide crackers, and wash berries. Label everything with days of the week to grab quickly.
Store completed lunchboxes on one refrigerator shelf for easy morning access.
Frequently Asked Questions
How Do I Keep Fruit From Browning in Lunchboxes?
You’ll prevent fruit browning by using acidic solutions that block oxidation.
Brush cut apples, pears, or bananas with lemon juice – it’s the easiest method.
Alternatively, create a vinegar solution by mixing one tablespoon of white vinegar with one cup of water. Soak your fruit pieces for five minutes, then drain and pat dry.
Both methods work because the acid creates a protective barrier that stops the browning process.
What Containers Prevent Leaks and Spills Best?
You’ll want containers made from leak-proof materials like silicone or BPA-free plastic with locking lids and silicone gaskets.
They’re your best defense against spills. Choose container sizes that match your portions – smaller ones for dips and dressings, medium for sandwiches, and larger for salads.
Look for containers with multiple compartments and tight-fitting lids that create an airtight seal. Brands like Rubbermaid Brilliance and OXO POP excel at preventing leaks.
How Long Can Packed Lunches Sit at Room Temperature?
You’ll want to follow safe food storage guidelines to keep your lunch fresh.
Most packed lunches shouldn’t sit at room temperature for more than two hours. If it’s above 90°F, that time drops to just one hour.
Following proper lunch temperature guidelines means using ice packs or insulated containers for perishables. You’re risking foodborne illness if you leave items like sandwiches, dairy, or cut fruits out too long.
Should I Include Ice Packs in Insulated Lunch Bags?
You’ll definitely want to include ice packs in your insulated lunch bags for optimal food safety.
Ice pack benefits include maintaining safe temperatures for perishable items and preventing bacterial growth.
When choosing insulation, consider the bag’s thickness and material quality.
Even the best insulated bags can’t maintain cold temperatures indefinitely without help.
You’re extending your safe food window from two hours to four to six hours by adding ice packs.
How Do I Get Rid of Lingering Food Smells in Containers?
You’ll eliminate stubborn food storage odors by creating a paste with baking soda and water.
Scrub containers thoroughly, then rinse well. For tougher smells, soak containers overnight in a vinegar solution.
Natural odor neutralizers like lemon juice, coffee grounds, or crumpled newspaper also work wonders.
Don’t forget to air-dry containers in sunlight when possible. Store containers with lids off to prevent trapped moisture from creating new smells.
Conclusion
You’ve now got everything you need to revolutionize your lunchbox game. Whether you’re prepping colorful bento boxes, transforming leftovers, or batch-cooking for the week ahead, you’ll save time and money while keeping meals exciting. Don’t forget to involve your kids in the process – they’re more likely to eat what they help create. Start with one or two ideas this week, then gradually build your repertoire. Your future self will thank you every rushed morning.
Table of Contents


No Comments